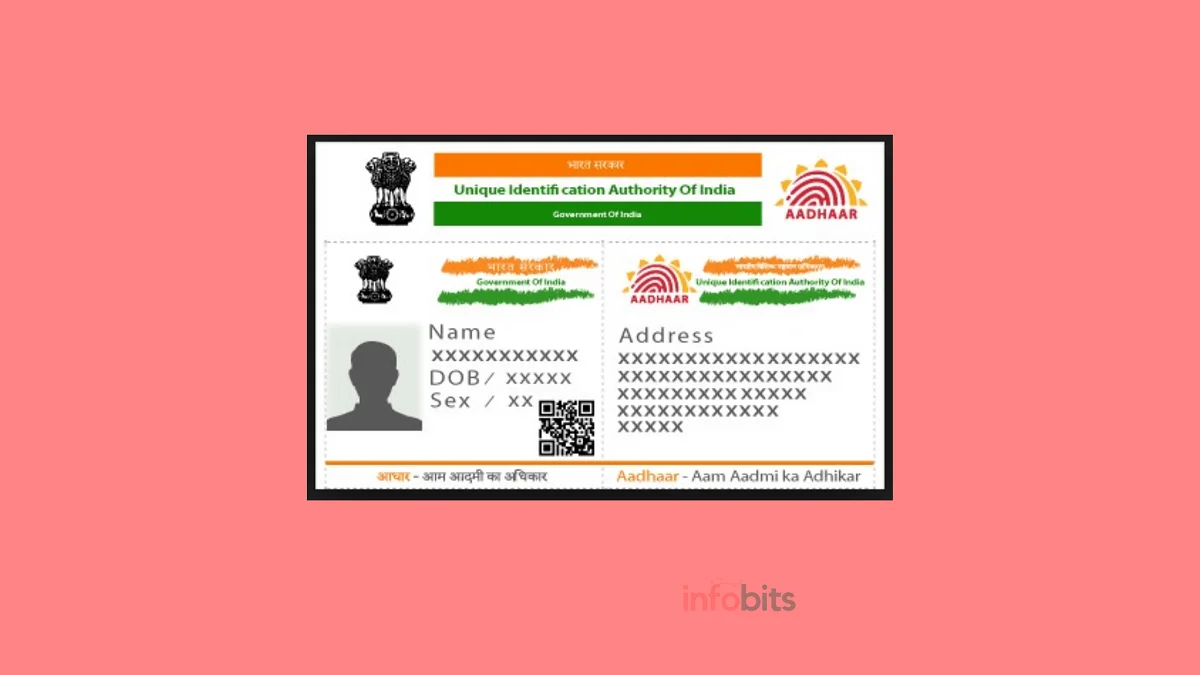
How to Apply for Aadhaar Card Online: Full Step-by-Step Guide
If you’ve searched for this, you’ve probably already run into the same confusing fact everyone does: Aadhaar enrolment isn’t something you can finish sitting at your laptop. A part of it has to happen in person, because UIDAI needs to physically capture your fingerprints, iris scan, and photograph.
What is online, though, is everything around that in-person visit – booking your appointment, preparing your documents, checking your status, and downloading your e-Aadhaar once it’s ready. Get those parts right, and the actual centre visit takes twenty minutes.
I’ve walked family members through this process more than once, including a newborn’s Baal Aadhaar and an NRI relative’s document-light enrolment, so this guide covers the situations that trip people up, not just the textbook case.
Quick answer: Book a free appointment at your nearest Aadhaar Seva Kendra through the official UIDAI website, carry one proof of identity, one proof of address, and one proof of date of birth, and your Aadhaar number arrives by post within 90 days. Everything below walks through each step, plus what changes if you’re enrolling a child, an NRI, or someone without standard documents.
What You’ll Need Before You Start
Save yourself a wasted trip by gathering these first:
- A working mobile number: not compulsory, but strongly recommended, since it’s how you’ll get OTPs for booking, status checks, and later Aadhaar-linked services.
- One document each for proof of identity, proof of address, and proof of date of birth (the full accepted list is below).
- Photocopies of each document, even though the centre scans the originals. Some centres still ask for a physical copy.
- A parent’s Aadhaar number, if you’re enrolling a child under 18.
Related: mAadhaar App: Why It’s Discontinued, and What Replaces It
Step 1: Decide Whether You Need New Enrolment or an Update
This matters because the online steps differ slightly:
- New enrolment – you’ve never had an Aadhaar number before. This is free.
- Update – you already have Aadhaar but need to correct your name, address, date of birth, or add biometrics. This now carries a fee (details below), and the process is slightly different from a first-time enrolment.
The rest of this guide focuses on new enrolment, since that’s what most first-time readers need.
Step 2: Book an Appointment Online
Booking ahead isn’t compulsory. You can walk into a centre and take a token. But it’s genuinely worth the two minutes, since a booked slot skips the queue that walk-ins wait in.
- Go to the official UIDAI website and find the Book an Appointment option under the “My Aadhaar” section.
- Choose your city or search by PIN code to find the nearest Aadhaar Seva Kendra or enrolment centre.
- Enter your mobile number and verify it with the OTP sent to your phone.
- Fill in your name, date of birth, and address on the booking form.
- Pick an available date and time slot.
- Confirm the booking and save or print the acknowledgement slip.
A couple of things worth knowing before you book. Slots typically open on a rolling 3–5 day basis, so if your preferred centre shows nothing available, check back the next morning rather than assuming it’s fully booked.
And booking itself is always free. If any website or agent asks you to pay just to reserve a slot, that’s not a legitimate UIDAI service.
If you’d rather skip booking entirely, you can walk into any Aadhaar Seva Kendra and take a token on the spot, though expect a longer wait during busy hours.
Related: How to Link Aadhaar with PAN Online in 2026
Step 3: Gather Your Supporting Documents
You need exactly three categories of proof; one document from each. UIDAI accepts a wide range of options, so most people already have at least one of each without needing to arrange anything new.
Proof of Identity (choose one)
Passport, Voter ID, Driving License, PAN card, government-issued photo ID, or a similar photo-bearing document.
Proof of Address (choose one)
| Document | Notes |
|---|---|
| Passport | Also valid as proof of identity |
| Bank Statement / Passbook | Recent |
| Post Office Account Passbook | Recent |
| Ration Card | — |
| Voter ID | Also valid as proof of identity |
| Driving License | Also valid as proof of identity |
| Electricity, Water, or Landline Bill | Must not be older than 3 months |
| Property Tax Receipt | Must not be older than 3 months |
| Credit Card Statement | Must not be older than 3 months |
| Gas Connection Bill | Must not be older than 3 months |
| Insurance Policy | — |
| Bank-signed letter with photo, on letterhead | — |
| Registered company letter with photo, on letterhead | — |
| Recognised educational institution letter with photo | — |
| NREGS Job Card | — |
| Arms License | — |
| Pensioner Card | — |
| Kisan Passbook | — |
| CGHS/ECHS Card | — |
| Address certificate from MP, MLA, Gazetted Officer, or Tehsildar | On letterhead |
| Village Panchayat head certificate | For rural areas |
| Vehicle Registration Certificate | — |
| Registered Sale/Lease/Rent Agreement | — |
| Passport of spouse or parent | For linked-address cases |
Related: Link Your Aadhaar to Mobile Number from Home or Office
Proof of Date of Birth (choose one)
SSLC certificate or passport, or a date-of-birth certificate issued by a Group A Gazetted Officer on letterhead.
For the complete, most current list, always check UIDAI’s official document list directly before your appointment. This list is revised periodically, and a document that’s accepted today may have conditions attached tomorrow.
No documents at all? UIDAI has a fallback for this: the Introducer system, where someone already enrolled in Aadhaar and registered as an introducer at the centre vouches for your identity.
There’s also Head of Family (HoF) enrolment, where a family member’s Aadhaar and proof of relationship can substitute for your own documents. Ask about either option at the enrolment centre if you genuinely have nothing on the accepted list.
Step 4: Visit the Centre and Complete Enrolment
- Arrive at your chosen centre on the appointment date with your original documents and photocopies.
- Fill out the enrolment form. You can also download and pre-fill it online to save time at the centre.
- Submit the form and your documents for verification.
- The centre operator captures your biometrics: fingerprints, iris scan, and photograph.
- Double-check every detail on screen before it’s finalised. A spelling mistake in your name or a wrong date of birth here means a correction request later, so this is the moment to catch it.
- You’ll receive an acknowledgement slip with a 14-digit enrolment number (EID) and the date/time of your enrolment. Keep this safe. You’ll need it to check your status.
Your data is then verified centrally, and your Aadhaar number is generated and posted to your address if everything checks out. This typically takes up to 90 days, though many applicants receive it well before that.
Special Cases
Enrolling a Newborn or Child Under 5 (Baal Aadhaar)
Children under 5 get a Baal Aadhaar (sometimes called Blue Aadhaar), issued using the parent’s Aadhaar and proof of relationship, without capturing the child’s biometrics, since fingerprints and iris patterns aren’t stable at that age.
When the child turns 5, and again at 15, their biometrics must be updated. Both of these mandatory updates are free of charge.
Enrolling Someone With No Standard Documents
As mentioned above, the Introducer and Head of Family methods exist for exactly this situation. Ask the centre operator which one applies to you. It depends on whether you have any Aadhaar-holding family member who can vouch for you.
NRIs and Foreign Nationals
NRIs can enrol using a valid passport, and eligibility otherwise follows the same document rules, though OCI/PIO status may affect which centre and process apply.
If this is your situation, it’s worth calling the UIDAI helpline before booking, since requirements here shift more often than the general process.
Related: How to Link Aadhaar with the BSNL Mobile Number?
How Much Does Aadhaar Cost?
New enrolment is completely free. There’s no charge for a first-time Aadhaar card, whether for an adult or a child.
Updates to an existing Aadhaar, however, now carry a fee, following UIDAI’s revised charges effective October 2025:
| Service | Fee |
|---|---|
| New Aadhaar enrolment | Free |
| Demographic update (name, address, DOB, gender, mobile, or email) | ₹75 |
| Biometric update | ₹125 |
| Colour Aadhaar printout at the centre | ₹30 |
| Mandatory biometric update at age 5 or 15 (for children) | Free |
Updating several demographic fields in a single visit still counts as one ₹75 charge, not one per field.
A number of websites and forwarded messages still quote the older ₹50/₹100 figures. Confirm the current amount on the official UIDAI portal before you pay, since third-party information here goes stale quickly.
Step 5: Check Your Aadhaar Status Online
Once you have your enrolment slip, checking status is fully online:
- Visit the UIDAI status check page.
- Enter your 14-digit enrolment number along with the date and time of enrolment, both printed on your acknowledgement slip.
- Submit to see whether your Aadhaar number has been allotted.
Step 6: Download Your e-Aadhaar
Once your Aadhaar number is generated, you can download a digital copy immediately rather than waiting for the physical card to arrive by post.
- Go to the e-Aadhaar download page.
- Enter your Aadhaar number, Enrolment ID, or Virtual ID (VID) if you’ve generated one.
- Enter the OTP sent to your registered mobile number.
- Your e-Aadhaar downloads as a password-protected PDF.
The password is the first four letters of your name in capital letters, followed by your year of birth. For example, if your name is Suresh and you were born in 1990, the password is SURE1990. This same password format applies every time you download your e-Aadhaar, including after any future update to your details.
Common Mistakes That Cause Delays
- Details that don’t match across documents. If your name is spelt differently on your ID proof versus your address proof, flag it to the operator before biometrics are captured. Fixing it after enrolment means a paid update request.
- Using a bill older than 3 months as address proof. Utility bills, credit card statements, and property tax receipts all have a 3-month validity window for this purpose.
- Skipping the appointment slip. You’ll need both the EID and the enrolment date/time from it to check status later. Losing it means an extra step to retrieve your enrolment number.
- Assuming the whole process is online. No part of Aadhaar enrolment skips the in-person biometric visit; any website claiming otherwise isn’t following UIDAI’s actual process.
- Paying anything for a new enrolment or for booking an appointment. Both are free. Only updates to an existing Aadhaar carry a fee.
Frequently Asked Questions
No. Booking, document preparation, status checks, and e-Aadhaar download are all online, but biometric capture requires an in-person visit to an enrolment centre.
Yes, new enrolment is completely free for both adults and children. Only later updates to an existing Aadhaar carry a fee.
Up to 90 days from enrolment, though many applicants receive their Aadhaar number and card well before that.
One proof of identity, one proof of address, and one proof of date of birth, chosen from UIDAI’s approved document list.
Visit the official UIDAI website, select Book an Appointment under My Aadhaar, choose your nearest centre, verify your mobile number with OTP, and pick an available slot.
No. You can also walk into any Aadhaar Seva Kendra and take a token, though a booked appointment usually means a shorter wait.
Children under 5 get a Baal Aadhaar, enrolled using the parent’s Aadhaar and proof of relationship, without biometric capture. Biometrics are added later at ages 5 and 15, free of cost.
UIDAI allows enrolment through an Introducer (someone already Aadhaar-registered who vouches for you) or the Head of Family method, using a family member’s Aadhaar and proof of relationship.
Use your 14-digit enrolment number along with the date and time of enrolment on the UIDAI status check page.
Visit the UIDAI e-Aadhaar download page, enter your Aadhaar number, Enrolment ID, or VID, verify with OTP, and download the password-protected PDF.
The first four letters of your name in capital letters followed by your year of birth, e.g., SURE1990 for someone named Suresh born in 1990.
As of October 2025, a demographic update costs ₹75 and a biometric update costs ₹125. A colour printout at the centre costs ₹30.
Yes, using a valid passport as the primary document, though it’s worth confirming current NRI-specific requirements with UIDAI before booking, since these can change.
You can request a correction through UIDAI’s update process, which now carries a ₹75 demographic update fee, so it’s worth double-checking details at the centre before biometrics are finalised.
Yes, the mobile number used for OTP verification during booking doesn’t need to be Aadhaar-registered or belong to the applicant.
The mAadhaar app is mainly useful for accessing your Aadhaar details and generating a QR-based digital copy after enrolment; it currently doesn’t support appointment booking for new enrolment.
The Aadhaar number is your permanent 12-digit ID; the Enrolment ID (EID) is the 14-digit reference from your acknowledgement slip before allotment; the Virtual ID (VID) is a temporary, revocable number you can generate for use in place of your Aadhaar number.
Yes, even for a Baal Aadhaar, the child needs to be present so a photograph can be taken, though no fingerprints or iris scan are required under age 5.
Slots typically open on a rolling basis a few days in advance. Check back the following morning, or use the walk-in token system at the centre instead.
Only ever enter your details on the official UIDAI domain. Third-party sites offering to “process” your Aadhaar application for a fee are not legitimate. Enrolment and appointment booking are UIDAI services and are free.
We hope you enjoyed this article and encourage you to follow our Facebook and Twitter pages for regular updates. Also, don’t forget to share this article with your friends and relatives.
Subscribe to our free newsletter to get similar articles and regular updates directly in your Email.
Subscribe to be the first to learn about new information
Disclosure: If you follow our links to a retailer’s website and make a purchase, we will get an affiliate commission on some, but not all, of the items or services we promote. This will cause no price change for you.